Ingredients:
- 165g sourdough starter (unfed or fed, as per your preference)
- 400g spring water
- 650g bread flour
- 15g salt
Directions:
Step 1: Mix the Dough
- In a large bowl, combine the sourdough starter with spring water. Stir until the starter is fully dissolved in the water.
- Gradually add the bread flour to the mixture. Mix everything together using a wooden spoon or your hands until it forms a rough dough.
- Let the dough rest for 30 minutes to 1 hour for a short autolyse, allowing the flour to fully hydrate before you add salt.
Step 2: Add Salt & Knead
- After the dough has rested, sprinkle the salt on top and knead it into the dough. You can do this by folding the dough over itself several times in the bowl or by using a stretch-and-fold method on a lightly floured surface.
- Continue kneading or folding the dough for 5–10 minutes until it feels smooth and slightly elastic.
Step 3: Bulk Fermentation
- Once the dough is well-kneaded, cover the bowl with a damp cloth or plastic wrap.
- Let the dough rise at room temperature for about 4-6 hours or until it has doubled in size. You can also let it sit in a slightly warmer place, or if you plan to let it rise overnight, just set it aside at room temperature for the night.
Step 4: Shape the Dough
- If the dough has risen a bit too much overnight (over-proofed), you might find it difficult to shape, but it can still work! Gently turn the dough onto a lightly floured surface and shape it into a round or oval loaf, depending on your preference.
- Be gentle as you shape it to avoid deflating the dough too much.
Step 5: Final Proofing
- Place your shaped dough into a proofing basket (banneton), or simply a bowl lined with a well-floured towel.
- Cover and let the dough proof for 1–2 hours at room temperature (or up to 12 hours in the fridge for a longer cold-proof if you want more flavor development).
Step 6: Preheat the Oven
- About 30-45 minutes before baking, place a Dutch oven or a similar covered pot into the oven and preheat it to 475°F (245°C).
Step 7: Bake the Bread
- Once the oven is fully preheated, carefully remove the hot pot and place your proofed dough into it. If you want to score the top of your loaf, use a sharp blade to create a shallow cut on the surface.
- Cover the pot with its lid and bake the bread for 25-30 minutes. This creates steam, helping the bread rise and develop that crispy crust.
- After 25-30 minutes, remove the lid and bake for an additional 15–20 minutes to allow the crust to fully develop and turn golden brown.
Step 8: Cool & Enjoy
- Once the loaf is baked, carefully remove it from the pot and let it cool on a wire rack for at least 1 hour before slicing.
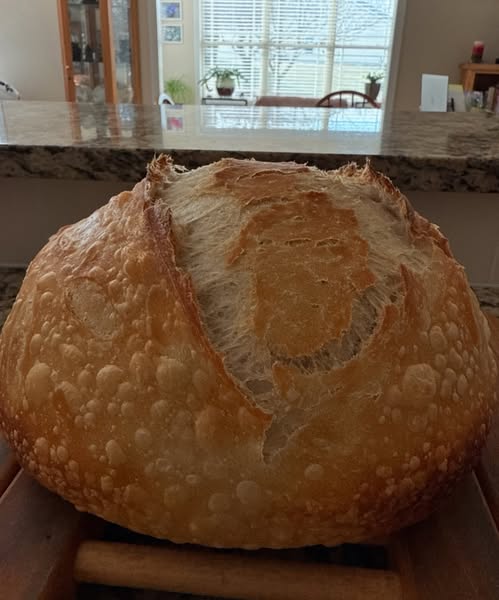
- Slice and enjoy the crackly, flavorful sourdough bread!
Additional Tips:
- If you find that your dough is too sticky to shape after over-proofing, you can gently stretch and fold it on a well-floured surface. Be gentle, as too much handling can deflate it.
- If you’re using a cold-proofing method (letting it rise in the fridge overnight), don’t forget to bring it to room temperature for about an hour before baking to get the full rise in the oven.
Even with a little over-proofing, it sounds like you ended up with a fantastic loaf! The Unloaf method is pretty forgiving, and that rustic, cracked crust is always worth the effort. 😍